 IT WAS HARD for me to believe how easy it is to grow garlic! And ever since I saw and tasted how much better it is than store-bought–oily and aromatic, I keep planting more every year. It requires so little tending, that anyone can do it. All you need is a sunny spot.
GARLIC IS PLANTED IN THE FALL, LIKE A TULIP BULB ! THINK MID-OCTOBER TO EARLY NOVEMBER; BEST AFTER THE FIRST FROST BUT BEFORE THE GROUND GETS HARD.
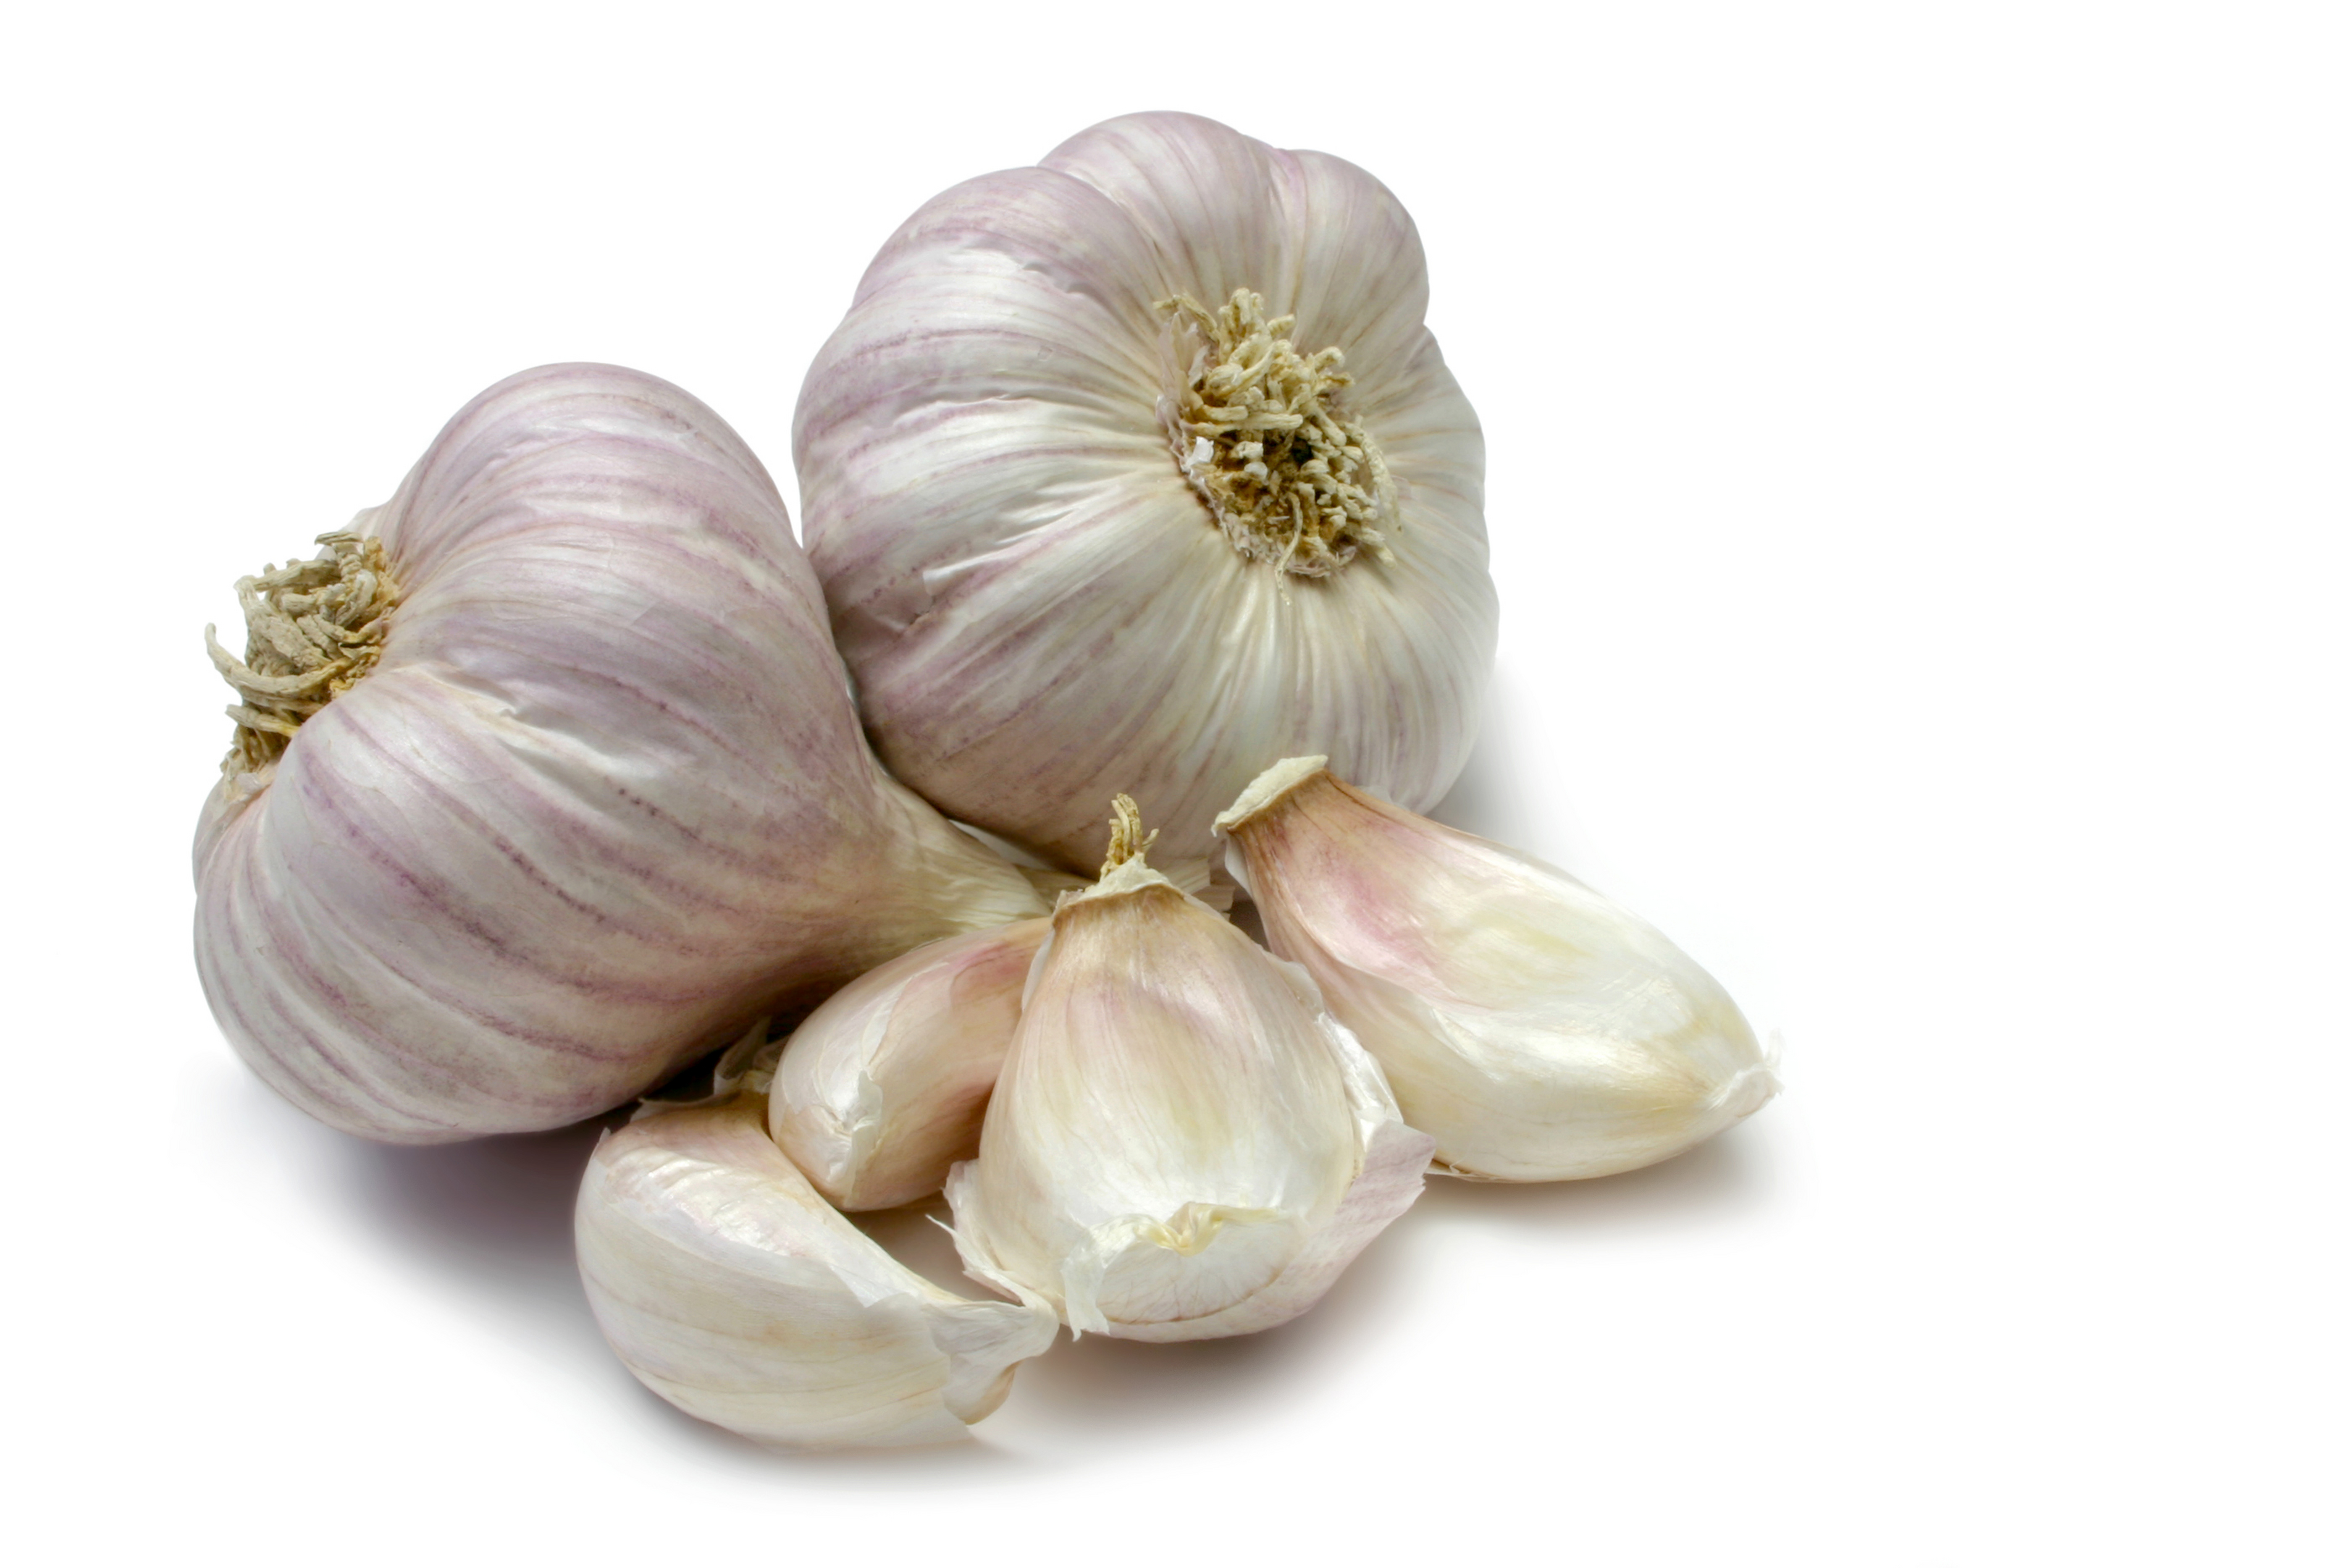
STEP 1: Get a head of organic garlic to use as seed either in a store or farmers’ market. Non-organic may work but if from China, it could have been sprayed with a chemical to retard growth; there’s no way to know for sure.
STEP 2: Find a sunny spot where water doesn’t pool and dig the earth so it’s loose (of course, every bed at Gateway Community Garden fits that description!).
STEP 3: Separate the head of garlic into the individual cloves (leave the papery cover intact). Each clove becomes a whole head of garlic! Plant the clove with the pointy side up and the flat side down.
STEP 4: Plant each clove 2 to 4 inches deep and 4 inches apart from the others. Fill in the hole and pat it down. Mark the spot so you don’t forget where they are. Cover it with wood chips, straw or other mulch to keep the weeds down.
STEP 5: Water it. Go inside and dream about the garlic you will harvest NEXT JULY!
That’s right! Leave it through the winter. If late fall is warm, you may see green tips come up. Not to worry. In spring the leaves will really grow. Water it regularly like your other plants.
STEP 6: In June, the leaves will be tall and straight, but a curly “scape,” a flower stalk, will grow. Cut that off and chop it for use in eggs, stews, stir fries, to add a garlicky flavor. It freezes well. Stores charge as much as $1/scape!
STEP 7: When the leaves start turning brown, stop watering .
STEP 8: When most of the leaves are brown, it’s time to HARVEST! Don’t pull! Use a small shovel or fork to lift them out of the ground. Brush off the dirt, leave the roots and tops. Lay them in a single layer in a shaded, ventilated place for 2-3 weeks until they feel dry. Cut off the tops and store where air can circulate, eg., a mesh bag.
STEP 9: Eat and enjoy!